Mastering WSL: Your Ultimate Guide To Windows Subsystem For Linux
Hey there, tech enthusiasts! If you're diving into the world of WSL (Windows Subsystem for Linux), you're in the right place. WSL has become a game-changer for developers, IT pros, and Linux lovers who want to run Linux environments on Windows without the hassle of dual-booting or virtual machines. But hold up—there’s so much more to it than just running a Linux distro on your Windows PC. Let’s break it down for ya, step by step.
WSL is not just another tech buzzword; it’s a powerful tool that bridges the gap between the Windows and Linux ecosystems. Whether you’re a coder looking to test Linux-based apps or a sysadmin needing to manage Linux servers from your Windows machine, WSL makes it possible—and smooth as butter. So, if you’ve ever wondered how to harness the full potential of Linux on your Windows system, this guide is your golden ticket.
Now, before we dive headfirst into the nitty-gritty, let’s set the stage. WSL isn’t just about running Linux commands on Windows. It’s about efficiency, flexibility, and unlocking new possibilities for your workflow. Stick with us as we uncover the ins and outs of WSL, from its history to advanced tips and tricks that’ll make your tech life easier. Let’s get started!
Read also:Pope Francis And Abortion A Deep Dive Into The Controversial Intersection Of Faith And Modernity
What Exactly is WSL?
The Basics of WSL
So, what’s WSL all about? Simply put, WSL lets you run a Linux environment—complete with command-line tools, utilities, and apps—directly on Windows, without needing a separate Linux machine or virtualization software. It’s like having the best of both worlds right at your fingertips. Whether you’re coding in Python, managing Docker containers, or just messing around with bash scripts, WSL makes it seamless.
Think of it like this: WSL is like a translator that helps Windows understand Linux commands. Instead of installing a full-fledged Linux system, you can fire up a Linux terminal, run your favorite distro, and access all the tools you need—all without leaving your Windows desktop. It’s like having a Linux superpower built right into your Windows OS.
How Does WSL Work?
Under the hood, WSL is pretty darn cool. It works by translating Linux system calls into Windows system calls in real-time. This means you can run Linux binaries directly on Windows without needing an emulator or virtual machine. The magic happens through a compatibility layer that allows Linux apps to interact with the Windows kernel. No rebooting, no switching systems—just pure, uninterrupted productivity.
And here’s the kicker: WSL doesn’t just stop at running Linux commands. It also lets you access your Windows files from within the Linux environment and vice versa. You can edit files with your favorite Linux text editor, run Windows apps from the Linux terminal, and even use Linux tools to manage your Windows system. It’s like having a tech Swiss Army knife in your pocket.
Why Should You Care About WSL?
Okay, so you know what WSL is, but why should you care? Well, let’s break it down. WSL isn’t just for developers or IT pros—it’s for anyone who wants to supercharge their tech skills. Whether you’re a student learning Linux basics, a developer building cross-platform apps, or a power user who loves tinkering with command-line tools, WSL has something for everyone.
Here are a few reasons why WSL is worth your time:
Read also:Pope Francis Lent A Journey Of Faith Reflection And Renewal
- Efficiency: No more juggling between systems or virtual machines. Run Linux and Windows side by side with zero overhead.
- Flexibility: Access the full power of Linux tools without giving up the comfort of your Windows environment.
- Learning: If you’re new to Linux, WSL is a great way to get your feet wet without committing to a full Linux install.
- Productivity: Streamline your workflow by using Linux tools for development, scripting, and automation—all while staying in Windows.
And let’s not forget the cost savings. With WSL, you don’t need to invest in expensive hardware or software licenses. You can run Linux for free right on your Windows PC. Pretty sweet, right?
WSL Versions: What’s the Difference?
WSL 1 vs. WSL 2
Now that you’re sold on WSL, let’s talk about the two main versions: WSL 1 and WSL 2. Both versions have their own strengths, but they’re fundamentally different under the hood.
WSL 1: This is the original version of WSL. It uses a compatibility layer to translate Linux system calls into Windows system calls. It’s lightweight and perfect for basic Linux tasks like running scripts or using command-line tools. However, it lacks full kernel support, which can be a dealbreaker for more advanced users.
WSL 2: Enter the next-gen version. WSL 2 runs a real Linux kernel, making it faster and more powerful than WSL 1. It supports full system call compatibility, which means you can run pretty much anything Linux-related. From Docker containers to virtual machines, WSL 2 has got you covered. The only downside? It’s a bit heavier on resources than WSL 1.
So, which one should you choose? If you’re doing basic Linux tasks, WSL 1 might be all you need. But if you’re diving into serious development or need full Linux compatibility, WSL 2 is the way to go.
Choosing the Right Version for You
Picking the right WSL version depends on your needs. Ask yourself: What do I plan to do with WSL? If you’re just running simple scripts or using basic Linux tools, WSL 1 is lightweight and efficient. But if you’re building complex apps, running Docker containers, or need full Linux kernel support, WSL 2 is the better choice.
Here’s a quick rundown to help you decide:
- Need lightweight performance? Go with WSL 1.
- Want full Linux compatibility? Choose WSL 2.
- Doing heavy development or running virtual machines? WSL 2 is your best bet.
And don’t worry—you can always switch between versions if you change your mind. Flexibility is key!
Installing WSL: Step by Step
Getting Started with WSL
Ready to roll? Installing WSL is easier than you think. Here’s how you do it:
- First things first: Make sure you’re running Windows 10 or later. WSL isn’t available on older versions of Windows.
- Open PowerShell as an administrator and run the command
wsl --install. This will install the latest version of WSL and set up your default Linux distribution. - Once the installation is complete, restart your PC. You’ll be prompted to set up a Linux username and password during the first launch.
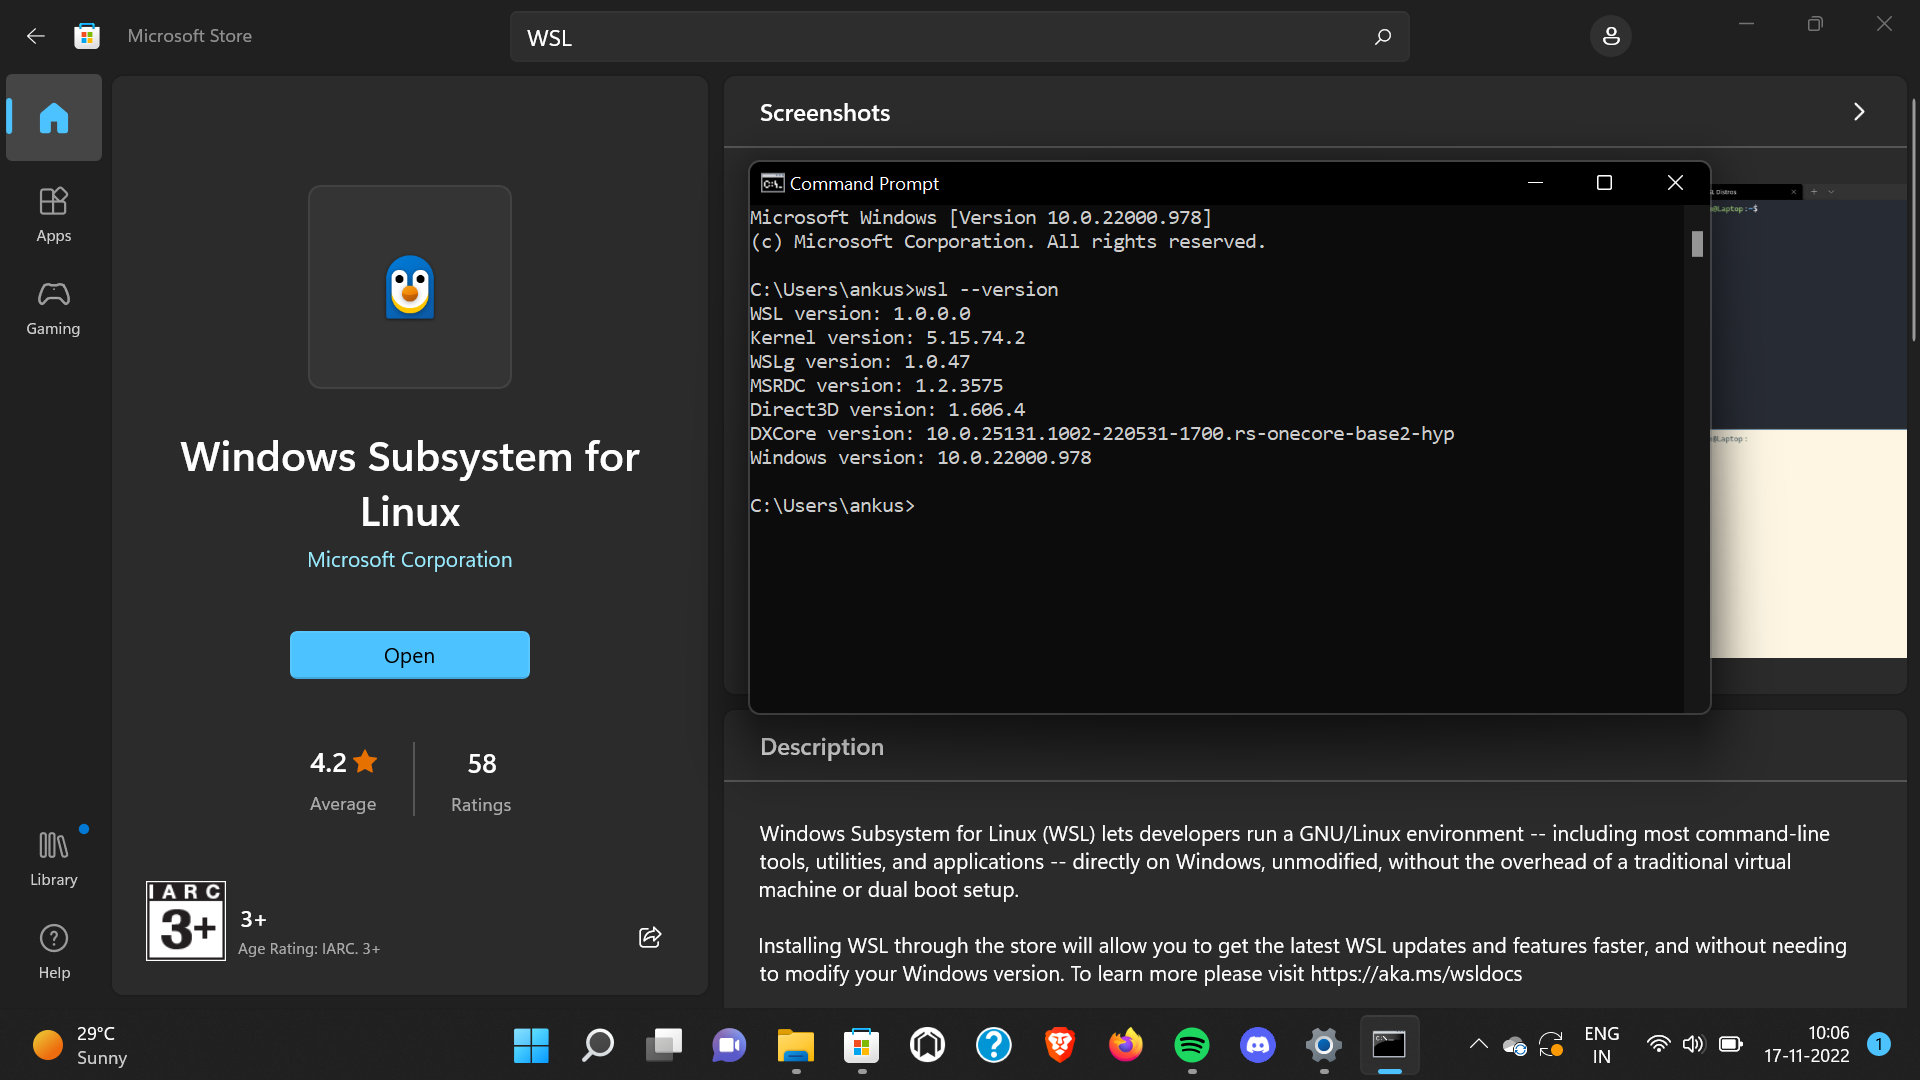
And that’s it! You’re ready to rock with WSL. But wait—there’s more. If you want to install a specific Linux distribution, you can grab it from the Microsoft Store. Popular choices include Ubuntu, Debian, and Fedora. Just search for your favorite distro and click install. Easy peasy.
Tips for a Smooth Installation
While WSL installation is straightforward, here are a few tips to ensure everything goes smoothly:
- Check for Updates: Before installing WSL, make sure your Windows system is fully updated. This ensures you get the latest features and bug fixes.
- Enable Virtualization: If you’re planning to use WSL 2, make sure virtualization is enabled in your BIOS settings. Without it, WSL 2 won’t work.
- Choose the Right Version: Decide whether you want WSL 1 or WSL 2 based on your needs. You can always switch later, but it’s good to start with the right version.
With these tips in mind, you’ll be up and running in no time. Now, let’s move on to the fun stuff—using WSL!
Exploring WSL: Your First Steps
Basic Commands to Get You Started
Now that you’ve installed WSL, it’s time to dive into the command line. Here are a few basic commands to help you get started:
- ls: List files and directories.
- cd: Change directories.
- pwd: Print the current working directory.
- sudo: Run commands with superuser privileges.
- apt update: Update your package list.
- apt install: Install new packages.
These commands are your bread and butter in the Linux world. Practice them until you’re comfortable, and you’ll be navigating the terminal like a pro in no time.
Accessing Windows Files in WSL
One of the coolest features of WSL is its ability to access your Windows files. To do this, navigate to the /mnt directory in your WSL terminal. From there, you can browse your C: drive, D: drive, and any other Windows partitions.
For example, to access your Documents folder:
cd /mnt/c/Users/YourUsername/DocumentsSimple, right? This seamless integration between Windows and Linux makes WSL a powerhouse for productivity.
Advanced WSL Features
Running GUI Apps with WSLg
Did you know you can run graphical Linux apps on WSL? Thanks to WSLg (pronounced "wes-el-gee"), you can launch GUI applications directly from your WSL terminal. Whether you’re using a text editor like Gedit or a more complex app like GIMP, WSLg makes it possible.
Here’s how to enable WSLg:
- Make sure you’re running WSL 2.
- Update your WSL installation with the command
wsl --update. - Restart your PC and try launching a GUI app from the terminal.
Voilà! You’re now running Linux GUI apps on Windows. How cool is that?
Integrating WSL with Windows Tools
WSL doesn’t have to live in isolation. You can integrate it with your favorite Windows tools and apps. For example:
- VS Code: Use Visual Studio Code’s Remote Development extension to edit Linux files with the power of VS Code.
- Powershell: Run WSL commands directly from PowerShell using the
wslcommand. - File Explorer: Access WSL files from Windows File Explorer by navigating to
\\wsl$\.
These integrations make WSL feel like a natural part of your Windows workflow. It’s all about blending the best of both worlds.
Best Practices for Using WSL
Optimizing Performance
To get the most out of WSL, here are a few tips to optimize performance:
- Use WSL 2 for Heavy Tasks: If you’re running Docker or virtual machines, WSL 2 is faster and more efficient.
- Store Files in WSL: Keep your project files in the WSL filesystem instead of the Windows filesystem for better performance.
- Disable Unnecessary Services: If you don’t need WSL running all the time, disable it when not in use to save resources.
By following these tips, you’ll keep your WSL setup running smoothly and efficiently.
Staying Secure
Security is always a top priority, especially when working with Linux environments. Here are a few best practices to keep your WSL setup secure:
- Use Strong Passwords: Set a strong password for your Linux user account to prevent unauthorized access.
- Keep Packages Updated: Regularly update your Linux packages to patch security vulnerabilities.
- Limit Superuser Access: Avoid running commands with sudo unless absolutely necessary.
With these security tips, you can rest easy knowing your WSL environment is protected.
WSL in the Real World
Use Cases for WSL
So, how are people actually using WSL in the real world? Here are a few examples:
Article Recommendations